When I first saw the dress that inspired this one, I could not think of what it was called. I typed "boxy dress" into the search bar of Pinterest and finally came across the real silhouette name which is a shift dress, so I'm gonna call this one "shifty."

One of my New Years resolutions was to not buy any new clothes from the store this year. I figure that I've got some sewin' skills so why not use them?? In the past when I've sewn things for myself, I tend to get impatient so I don't spend all the necessary time beforehand in the prep-work making sure things are gonna fit. This time, I decided I really wanted a dress that would fit well (imagine that) so I did a partial test run:

This absurdly bright purple fabric is actually a sheet purchased for $3.00 from DI. Part of the reason why I never take the time to make a muslin (test garment) is because I don't want to "waste" fabric. People always ask if sewing my own clothes is cheaper than buying. It totally depends on what it is, but often it's not. So the added cost of making a whole test garment out of fabric that is just going to be thrown away is not appealing to me, hence the wrinkled, skiwampus, sort-of test that you see below:

Yes, she's wearing a tank-top underneath the muslin...modest is hottest.
I tried the largest size on the pattern which turned out to be huge! The mannequin is set to basically my exact measurements and this was massive. So, before jumping down three sizes and sewing it up, I decided I needed to measure. I went over it about six times to make sure my math was right, measuring from my middle back to side seam, and the length from my neck to my waist and all that good stuff. It takes quite a lot of maneuvering. As it turned out, going down just one size made the dress almost 3 inches smaller around the waist, so it's a really good thing I measured it out.

People often comment how nice it must be to sew because I'm so tall and I can make things for my height. It's true, but patterns come in standard sizes too, which means a lot of alterations before I even start sewing. For example, I had to add 8 1/2 inches to this dress to make it long enough.


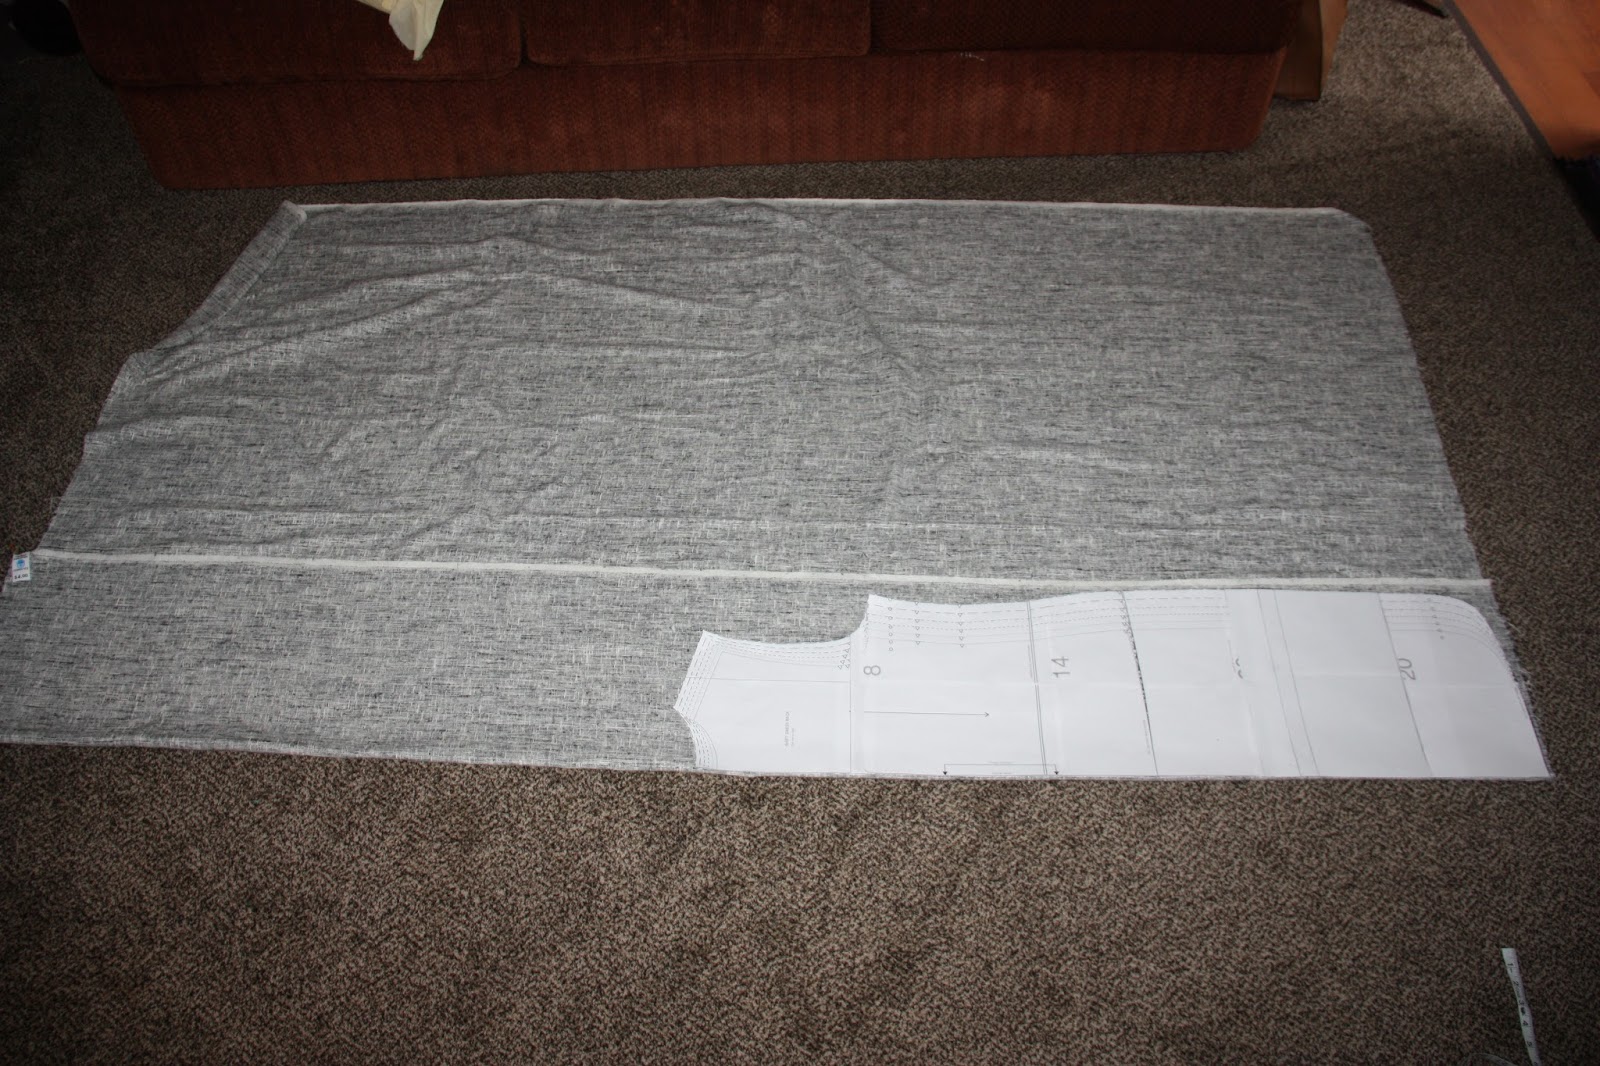
I was using the scraps from papers I cut out, so it looks a little shoddy, but I works, so I'm fine with it. Something to remember is that you can't just add length to the very bottom of something to make it longer. Curves along the pattern make it so it won't turn out right. Manufactured patterns always have a lengthen/shorten line where it won't affect the design to adjust length.

When I'm working on sewing projects, I'm always worried someone will come by and I'll be all embarrassed by the mess because let me tell you, I am not an organized creator.

This isn't even the worst of it at all, but my living room was a disaster the whole time I was working on the dress because cleaning as I go is not something I do well.

In the case of this dress, it was MUCH cheaper to make than to buy something like this at a store. Why? Two words: DI. When I find good fabric at DI, I feel like I'm robbing someone because it is so so cheap. The white and black fabric I got for $4.00. It was 60" wide and about 2 1/2 yards long. It's got a really cool texture to it and I still have a yard left over.

The pale yellow fabric was almost 4 yards for $2.00. I used it for the lining and sleeves. It's a really lightweight linen that's much softer than the other fabric, so it was nice to put this inside for comfort.

One of the biggest fabric wasters in the whole world is not knowing how to lay your patterns out on it. I've seen so many people just lay their fabric out folded in half like it comes on the bolt which wastes so much. My mom taught me a long time ago to fold it as small as you can to fit the largest piece. It can take a little longer because you typically need to do one or two pieces at a time, but it saves a ton of fabric.

Here's the finished product. Now the only question is who wore it best?:


(The cows thought I did.)


